Installing an industrial scraping mud roller wheel washer is a critical step in ensuring effective vehicle cleaning, environmental compliance, and operational safety at industrial facilities and construction sites. Proper installation not only ensures the unit functions correctly but also minimizes the risk of accidents and extends the equipment’s lifespan. This guide provides a detailed installation process for industrial scraping mud roller wheel washers, along with essential safety precautions to follow before, during, and after installation.
Pre-Installation Preparation. Before beginning the installation, thorough preparation is essential to avoid delays and ensure safety. First, conduct a site assessment to determine the optimal installation location. The ideal location is at the main entrance or exit of the facility, where all vehicles must pass through before entering public roads. The area should have sufficient space for the washer unit, as well as for vehicles to approach and exit safely (typically 20-30 feet of clear space before and after the unit). Additionally, check the ground conditions—industrial scraping mud roller wheel washers require a level, stable surface (such as concrete or compacted gravel) to support the weight of heavy vehicles. If the ground is uneven or unstable, you may need to pour a concrete slab or reinforce the area with compacted stone.
Next, verify the utility requirements. Industrial washers require a reliable water supply (typically 100+ gallons per minute) and electrical power (220V or 480V, depending on the model). Contact a licensed plumber to ensure the water line is sized correctly and connected to a potable water source (or a recycled water system, if applicable). For electrical connections, hire a licensed electrician to install a dedicated circuit with a ground fault circuit interrupter (GFCI) to prevent electrical shocks. Additionally, plan for wastewater drainage—install a sediment tank or sump pump to collect and filter wastewater before disposal, ensuring compliance with local environmental regulations.
Gather the necessary tools and equipment for installation. This may include a forklift or crane (to move the heavy washer unit), concrete anchors, a level, a wrench set, a screwdriver, a shovel, and a tamper (for preparing the ground). It’s also important to have the manufacturer’s installation manual on hand, as specific steps may vary by model.
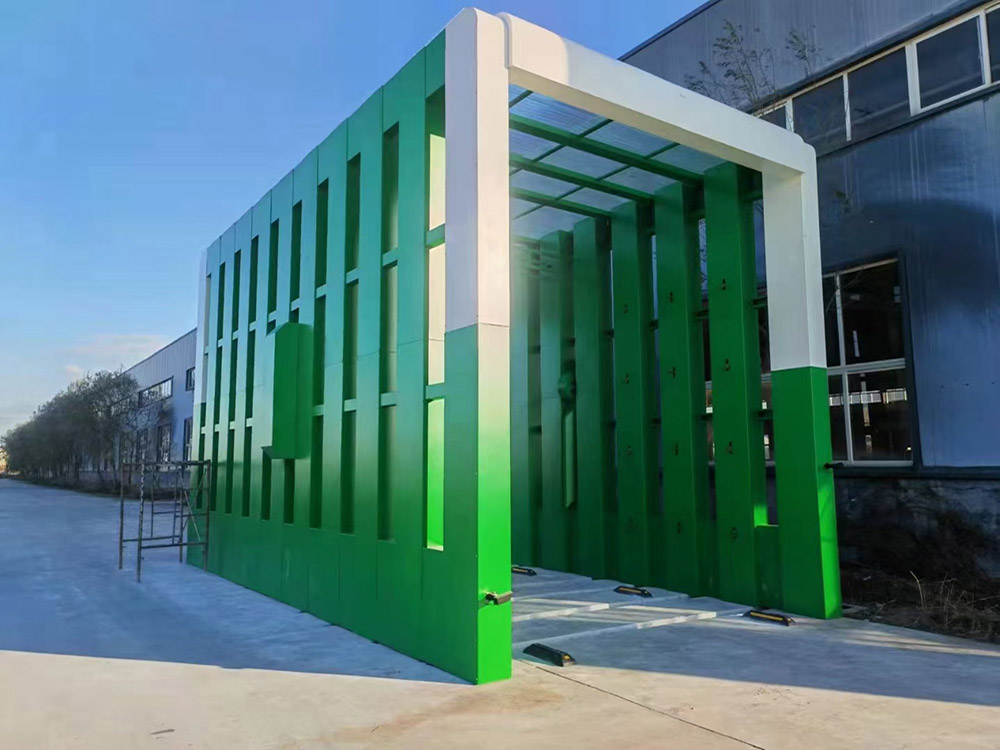
Step-by-Step Installation Process. Step 1: Prepare the Installation Site. Clear the installation area of any debris, rocks, or obstacles. If installing on a concrete slab, ensure the slab is level (use a level tool to check) and free of cracks. If installing on compacted gravel, use a tamper to compact the surface further, ensuring it can support the weight of the washer and heavy vehicles. Mark the location of the washer unit on the ground using chalk or spray paint, aligning it with the vehicle traffic flow.
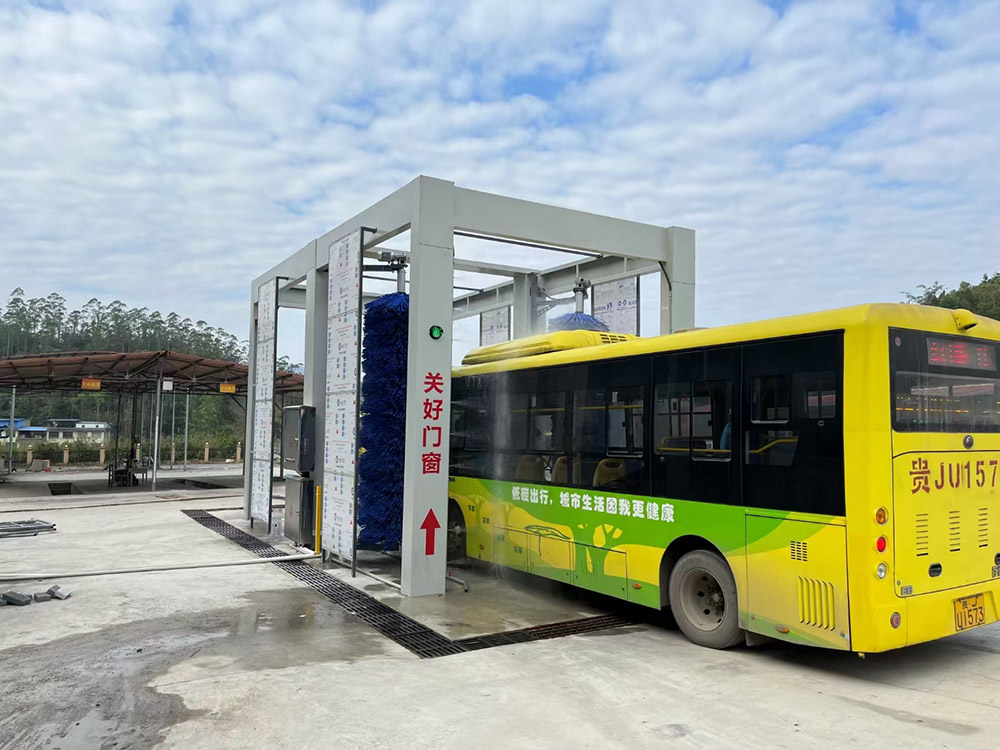
Step 2: Position the Washer Unit. Use a forklift or crane to carefully lift the industrial scraping mud roller wheel washer and place it in the marked location. Ensure the unit is level (adjust with shims if necessary) to prevent uneven wear on the rollers and ensure proper water drainage. Align the unit so that vehicles can pass through it straight on—misalignment can cause uneven cleaning and increase the risk of vehicle damage.
Step 3: Secure the Unit to the Ground. Once the unit is properly positioned, secure it to the ground using concrete anchors (for concrete slabs) or lag bolts (for compacted gravel). Drill pilot holes through the unit’s base and into the ground, then insert the anchors and tighten them with a wrench. This step is critical to prevent the unit from shifting or moving when heavy vehicles pass over it.
Step 4: Connect Water Lines. Connect the water supply line to the washer’s inlet valve using a flexible hose or rigid pipe. Ensure the connection is tight to prevent leaks (use Teflon tape on threaded connections if needed). Install a shut-off valve in the water line to allow for easy maintenance. If the unit has a water recirculation system, connect the return line from the sediment tank to the washer’s recirculation inlet.
Step 5: Connect Electrical Wiring. Have a licensed electrician connect the washer’s electrical components to the dedicated circuit. Follow the manufacturer’s wiring diagram to ensure correct connections, and test the electrical system to verify that the control panel, sensors, and motor are working properly. Install a weatherproof electrical box if the unit is installed outdoors, to protect the wiring from rain, snow, and debris.
Step 6: Test the Drainage System. Fill the sediment tank with water and test the drainage to ensure wastewater flows freely away from the unit. Check for leaks in the drain lines and adjust the slope if necessary. If using a sump pump, test the pump to ensure it activates automatically when the water level rises.
Step 7: Perform a Test Run. Before putting the washer into full operation, perform a test run with an empty vehicle. Activate the unit using the control panel or sensor, and observe the rollers, water pressure, and cleaning performance. Check for any issues, such as leaks, unusual noises, or uneven roller rotation. Adjust the water pressure and roller speed as needed to ensure effective cleaning.
Essential Safety Precautions. Safety should be a top priority during installation. Follow these precautions to prevent accidents: 1. Wear Personal Protective Equipment (PPE): All workers involved in installation should wear hard hats, safety glasses, steel-toed boots, and work gloves to protect against falls, flying debris, and heavy equipment. 2. Use Proper Lifting Equipment: Never attempt to lift the washer unit manually—use a forklift or crane with a rated capacity that exceeds the unit’s weight. Ensure the lifting equipment is in good working condition, and have a trained operator handle the lifting.
3. Follow Lockout/Tagout Procedures: Before working on electrical or water connections, turn off the power and water supply, and place lockout/tagout devices on the switches to prevent accidental activation. 4. Avoid Working Alone: Always have at least one other worker present during installation, in case of emergencies (such as equipment failure or injury). 5. Comply with Local Regulations: Ensure the installation meets local building codes, electrical standards, and environmental regulations. Failure to comply can result in fines and safety hazards.
Post-Installation Safety Measures. After installation, take the following steps to ensure ongoing safety: 1. Install Safety Signage: Place signs around the washer area indicating the maximum speed for vehicles (typically 2-5 mph), no pedestrians allowed during operation, and emergency stop locations. 2. Train Operators: Provide training to all operators on how to use the washer safely, including how to activate/deactivate the unit, how to respond to malfunctions, and how to use emergency stop buttons. 3. Regular Safety Inspections: Conduct weekly inspections of the washer unit, checking for loose components, leaks, or damage that could pose a safety risk. Repair any issues immediately.
In summary, installing an industrial scraping mud roller wheel washer requires careful preparation, proper positioning, secure anchoring, and correct connection of water and electrical systems. By following the step-by-step installation guide and adhering to essential safety precautions, you can ensure the unit functions effectively, safely, and in compliance with all regulations. Proper installation not only protects workers and vehicles but also ensures the washer provides reliable service for years to come.