Installing a rollover car wash machine is a complex process that requires careful planning, precise execution, and adherence to safety standards. Whether you’re a DIY enthusiast with mechanical experience or a professional technician, following a step-by-step installation guide can help ensure the process goes smoothly, and the machine operates safely and efficiently. Below is a comprehensive installation guide for rollover car wash machines, covering everything from pre-installation preparation to final testing.
Pre-Installation Preparation: Before beginning the installation process, there are several key steps to take to ensure the site is ready and all necessary tools and materials are available. First, review the machine’s installation manual thoroughly—this document contains critical information specific to your machine, including site requirements, electrical specifications, and assembly instructions. Next, prepare the installation site. The site should be a flat, level surface with adequate space for the machine and vehicle access. For outdoor installations, ensure the site is properly drained to prevent water pooling. The site will also need to be prepared for electrical and plumbing connections—this may involve pouring a concrete pad (minimum thickness of 4-6 inches) to support the machine, running electrical wiring (typically 220V or 480V, depending on the machine), and installing plumbing lines for water supply and drainage. Check local building codes and permits—most areas require permits for electrical and plumbing work, so ensure all necessary permits are obtained before beginning installation. Finally, gather all necessary tools and materials, including wrenches, screwdrivers, pliers, a level, a tape measure, electrical tape, plumbing fittings, and safety equipment (gloves, goggles, hard hat).
Step 1: Unpack and Inspect Components: Once the site is prepared, unpack the rollover car wash machine components and inspect them for damage. Check the shipping container for any signs of damage during transit, and document any issues with the manufacturer immediately. Lay out all components in a clear, organized area to ensure nothing is missing. Refer to the installation manual’s parts list to verify that all components are present, including the machine frame, brushes, motors, pumps, control panel, sensors, hoses, and hardware.
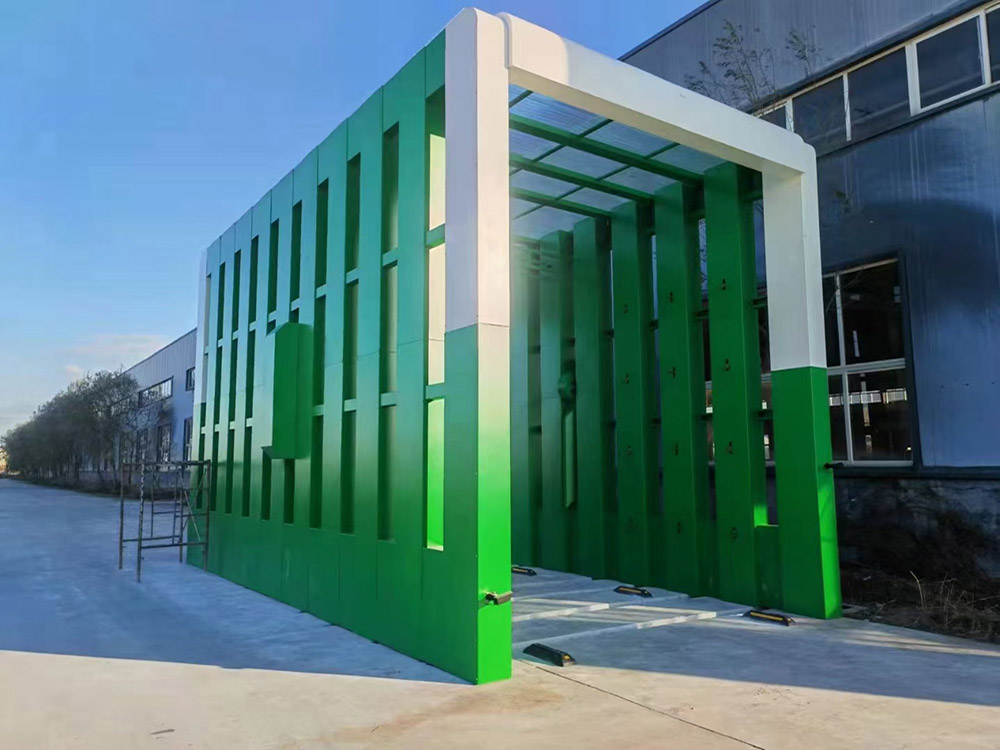
Step 2: Assemble the Machine Frame: The first step in assembling the machine is to construct the frame. Begin by placing the base frame on the prepared concrete pad, ensuring it is level. Use shims if necessary to adjust the frame’s position. Secure the base frame to the concrete pad using anchor bolts—this will prevent the machine from moving during operation. Next, attach the vertical supports to the base frame, following the manufacturer’s instructions. Ensure the supports are straight and secure, using a level to verify their alignment. Attach the crossbars and other frame components to complete the frame assembly. Tighten all bolts and fasteners to the manufacturer’s recommended torque specifications.
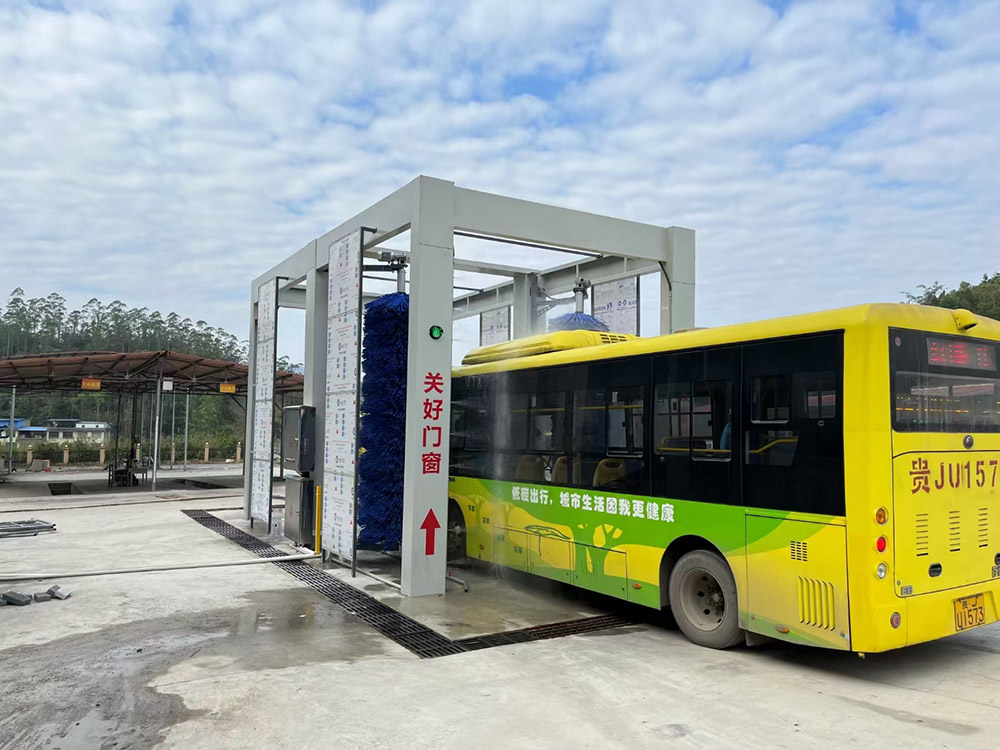
Step 3: Install Brushes and Rotating Components: Once the frame is assembled, install the brushes and other rotating components. Attach the brush arms to the frame, ensuring they are properly aligned. Install the brushes onto the brush arms, securing them with the provided hardware. Check that the brushes rotate freely without obstruction. Install the drive motors and chains or belts that power the brushes. Ensure the motors are properly mounted and the chains/belts are tensioned correctly—too much or too little tension can cause premature wear or malfunction. Lubricate the rotating components with the manufacturer-recommended lubricant to reduce friction.
Step 4: Connect Electrical Components: Electrical connections are critical for the machine’s operation and safety. If you are not a qualified electrician, it is recommended to hire a professional for this step. Begin by connecting the control panel to the main power supply, following the electrical specifications in the installation manual. Ensure the wiring is properly insulated and secured to prevent damage. Connect the motors, sensors, and other electrical components to the control panel. Test each electrical component to ensure it is receiving power and functioning correctly. Install safety features, such as emergency stop buttons, circuit breakers, and ground fault circuit interrupters (GFCIs), to protect against electrical hazards. Verify that all electrical connections comply with local building codes and safety standards.
Step 5: Install Plumbing and Fluid Systems: Next, install the plumbing lines for water supply and drainage. Connect the water supply line to the machine’s water inlet, ensuring the connection is tight to prevent leaks. Install a water filter in the supply line to remove debris that can clog nozzles and damage pumps. Connect the drainage line from the machine to the facility’s drainage system—ensure the drainage line is sloped properly to allow for efficient water flow. Install the soap, wax, and other fluid reservoirs, and connect them to the dispensers via hoses. Test the fluid systems to ensure they are dispensing the correct amount of product and there are no leaks. Adjust the dispenser settings as needed according to the manufacturer’s recommendations.
Step 6: Install Sensors and Safety Features: Sensors and safety features are essential for the machine’s safe operation. Install vehicle presence sensors, obstacle detection sensors, and position sensors in the locations specified in the installation manual. Ensure the sensors are properly aligned and calibrated—this may involve adjusting the sensor’s angle or sensitivity settings. Test the sensors to ensure they detect vehicles and obstacles correctly. Install warning signs, such as “No Smoking” and “Keep Clear” signs, around the machine to alert customers and staff of potential hazards. Verify that all safety interlocks (such as door switches and emergency stop buttons) are functioning correctly—these interlocks should prevent the machine from operating if a safety condition is not met.
Step 7: Test the Machine: Once all components are installed, it’s time to test the machine. Begin with a dry test (without water or fluid) to ensure all moving parts operate smoothly. Activate the machine and observe the brush rotation, arm movement, and control panel functions. Check for any unusual noises, vibrations, or malfunctions. Next, perform a wet test with water only. Run a full cycle and check for water leaks, proper water pressure, and even water distribution. Finally, perform a full test with soap and other fluids. Run a complete wash cycle and verify that the cleaning process is effective, the fluid dispensers are working correctly, and the drying system removes excess water. Make any necessary adjustments to the machine’s settings to ensure optimal performance.
Post-Installation Maintenance: After installation is complete, perform a final inspection of all components to ensure everything is secure and functioning correctly. Clean up the installation site, removing any debris or tools. Update the machine’s maintenance log to document the installation date and any initial adjustments. Train staff on proper operation and basic maintenance procedures. Schedule a follow-up inspection after 30 days of operation to check for any issues that may have arisen during initial use.
In conclusion, installing a rollover car wash machine requires careful planning, precise assembly, and adherence to safety standards. Whether you’re a DIY enthusiast or a professional technician, following this step-by-step guide can help ensure a successful installation. If you encounter any difficulties during the process, refer to the machine’s installation manual or contact the manufacturer for assistance. Proper installation is the foundation for the machine’s long-term performance and reliability.